
My husband bought a king size bed years ago. In typical guy fashion he didn't buy a headboard or foot board to go with it. It really hasn't bothered me until lately. Something about a nice headboard says "I'm a grown up"... right?
I keep seeing all of these awesome diy headboards and thought I'd give it a shot.
Here is what I purchased:
Wood plank from Lowe's, 76"x24" (remember to purchase the right size based on your own bed - Lowe's can cut it for you), $19 for the whole sheet. I have enough leftover that I can make another headboard from it.
- 1/2" foam from Joann's
- Batting from Joann's
- Fabric from Hancock Fabric, on sale for $5 per yard and I purchased 5 yards. I did not use all 5 yards though. I bought extra so I can cover my box spring to match.
- Nailhead trim from Joann's - $21.99, but use a 40% or 50% off coupon
- 18" wall bracket from Menards used to hang it - $11.99
- Staple gun
- Scissors
- Rubber mallet

I couldn't find my receipts so I don't have exact prices for everything - sorry! I purchased everything on sale. The whole project cost less than $75. Upholstered headboards from a store cost hundreds! The cheapest one I found was from Walmart (yes, Walmart... weird) for $149. I don't like Walmart so there was no way I was buying that one. Plus, it was for a full/queen and I need a king. Target had several neat headboards, but they were $300+.
Here is my 15/32" plywood board from Lowe's cut into 76"x24".

The first step is to cover it with foam. Simply pull the edges around and staple. The foam was a bit short, but that bottom part will be behind the bed so I wasn't too worried.


 |
| I used this extra for the bottom where it was too short. I basically patched it in. |


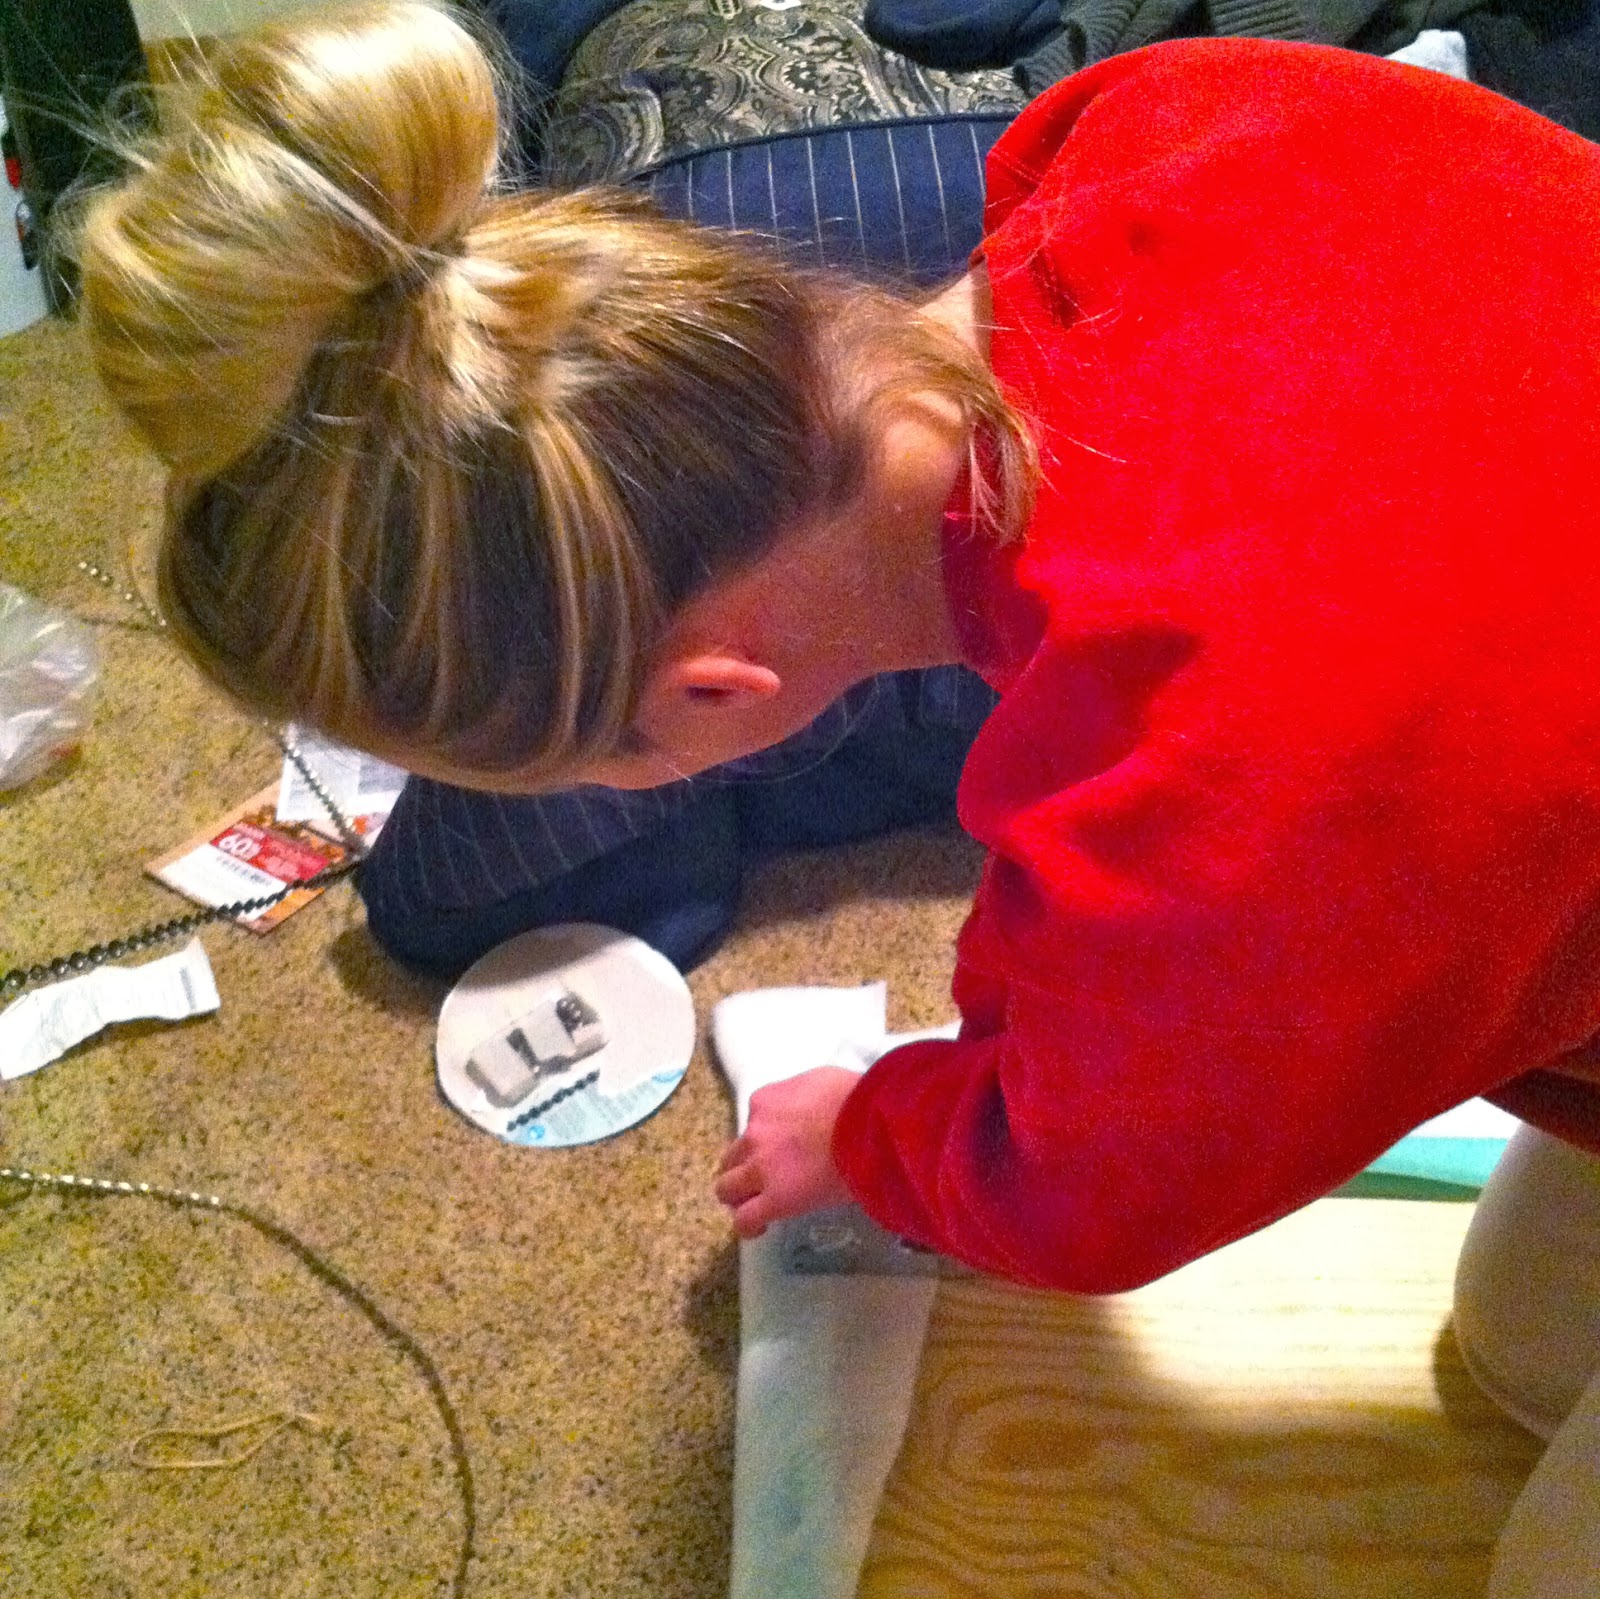 |
| Working in the guest bedroom. Beautiful head shot. Thanks, hubby. |

Add the fabric in the same fashion as the foam and batting.

Finally, it's time for nailhead trim. You'll want to use a rubber mallet. I used a hammer with a sock cover for another project and trust me, a rubber mallet is worth it. The nailhead trim can be tricky and time consuming. I always get frustrated when working with it so don't feel like you're doing something wrong if it's not going perfectly. It just takes time and patience.

 |
| I used the width of the stapler as a guide for how far in to place the trim. |


Time to hang! I purchased this 18 inch picture bracket from Menards for $11.99. It worked great!


The layout of our room is weird and the only place our bed works is under this window. Otherwise I would have made a taller headboard.

 |
| That darn duvet is always so wrinkly! |

 |
| My little model |


I also upholstered the box spring and added wooden legs. I'll post that tutorial another time.
No comments:
Post a Comment