
We helped move furniture out of a huge old home last weekend. In return for our help they said we could take whatever was leftover for free! This home is going on the market in a few weeks. It needs a lot of work, but it has a ton of character and I'm sure it was gorgeous in it's prime - beautiful woodwork, big staircase, decorative windows, porch with pillars, etc. Sigh. We made out like bandits with furniture, rugs, and even cleaning supplies. Thank you, Jim and Lynn!
Anyways, I redid the following dresser from that house last night with Minwax Polyshades in Espresso. Minwax Polyshades is not your typical stain. It's a 2 in 1 which means the stain and polyurethane are together. You don't need to completely strip the furniture which saves a huge amount of time. If you've ever stripped furniture down to bare wood you know it's back breaking work. I didn't feel like putting that much effort into this piece so I found Polyshades and it turned out to be a great solution. I do not recommend Polyshades for bare wood - go the traditional staining route if that's the case. For those items that have finish on and you simply want to change the color or give it a refresh, Polyshades is a great option. This took me two hours total compared to at least two days when I refinish furniture the traditional way. Since the dresser was free, my only cost was for the stain - about $10 for the quart. I think the 8 oz. size would have been enough though and it's only $5 so keep that in mind.
Here are the BEFORE pictures:


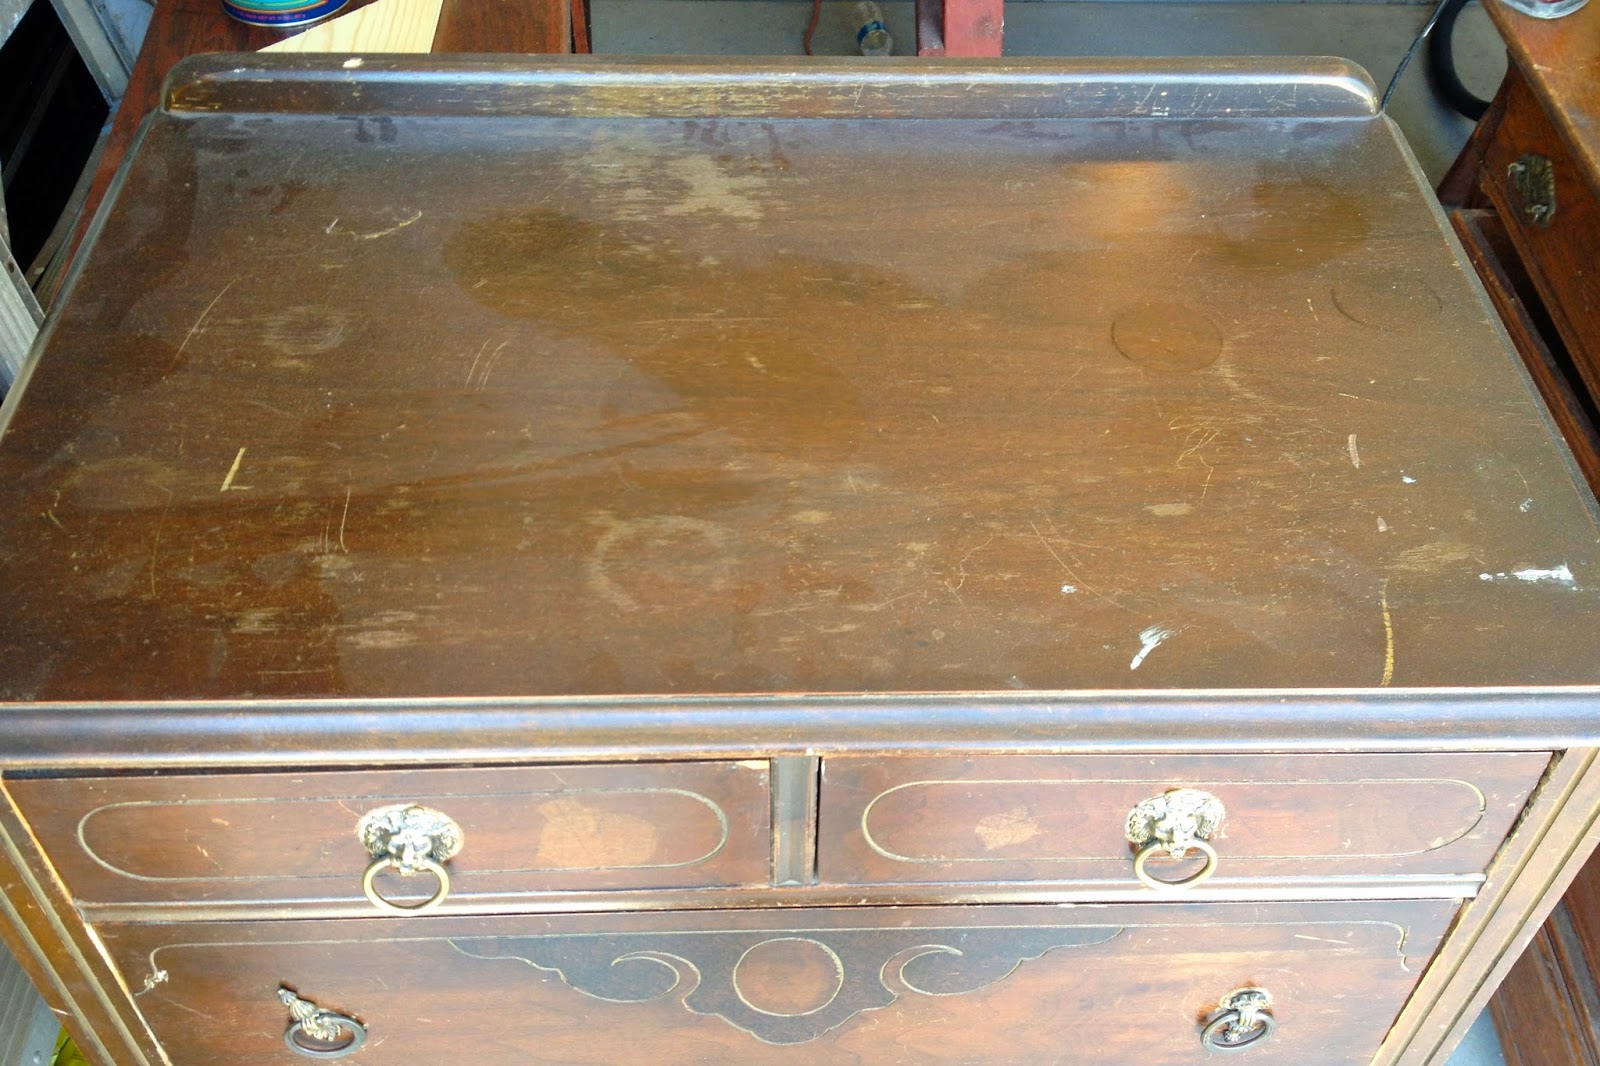


With Polyshades, you simply need to sand the piece with 220 grit sandpaper. I just went over it lightly with my hand sander.
 |
| Take the hardware off first |

 |
| Stretch |
 |
| I then wiped everything down three times with a wet rag. |
 |
| How it looked after sanding |
 |
| After sanding before the stain |
 |
| This is the product I used on it - Minwax Polyshades in Espresso Satin |
The key with this stuff is to put it on as thinly as possible. I used a foam brush.

 |
| I applied it way too thick on my first try. Do not do this! |
 | ||
| Too thick. You need to apply it much more sparingly than this. Several thin coats are much better than one goopy one. |
 |
| Better |

Here is how it looked after the first coat of stain:


 |

You'll need to let the first coat dry for six hours and then lightly go over it with very fine steel wool followed by a clean cloth to get the dust off.

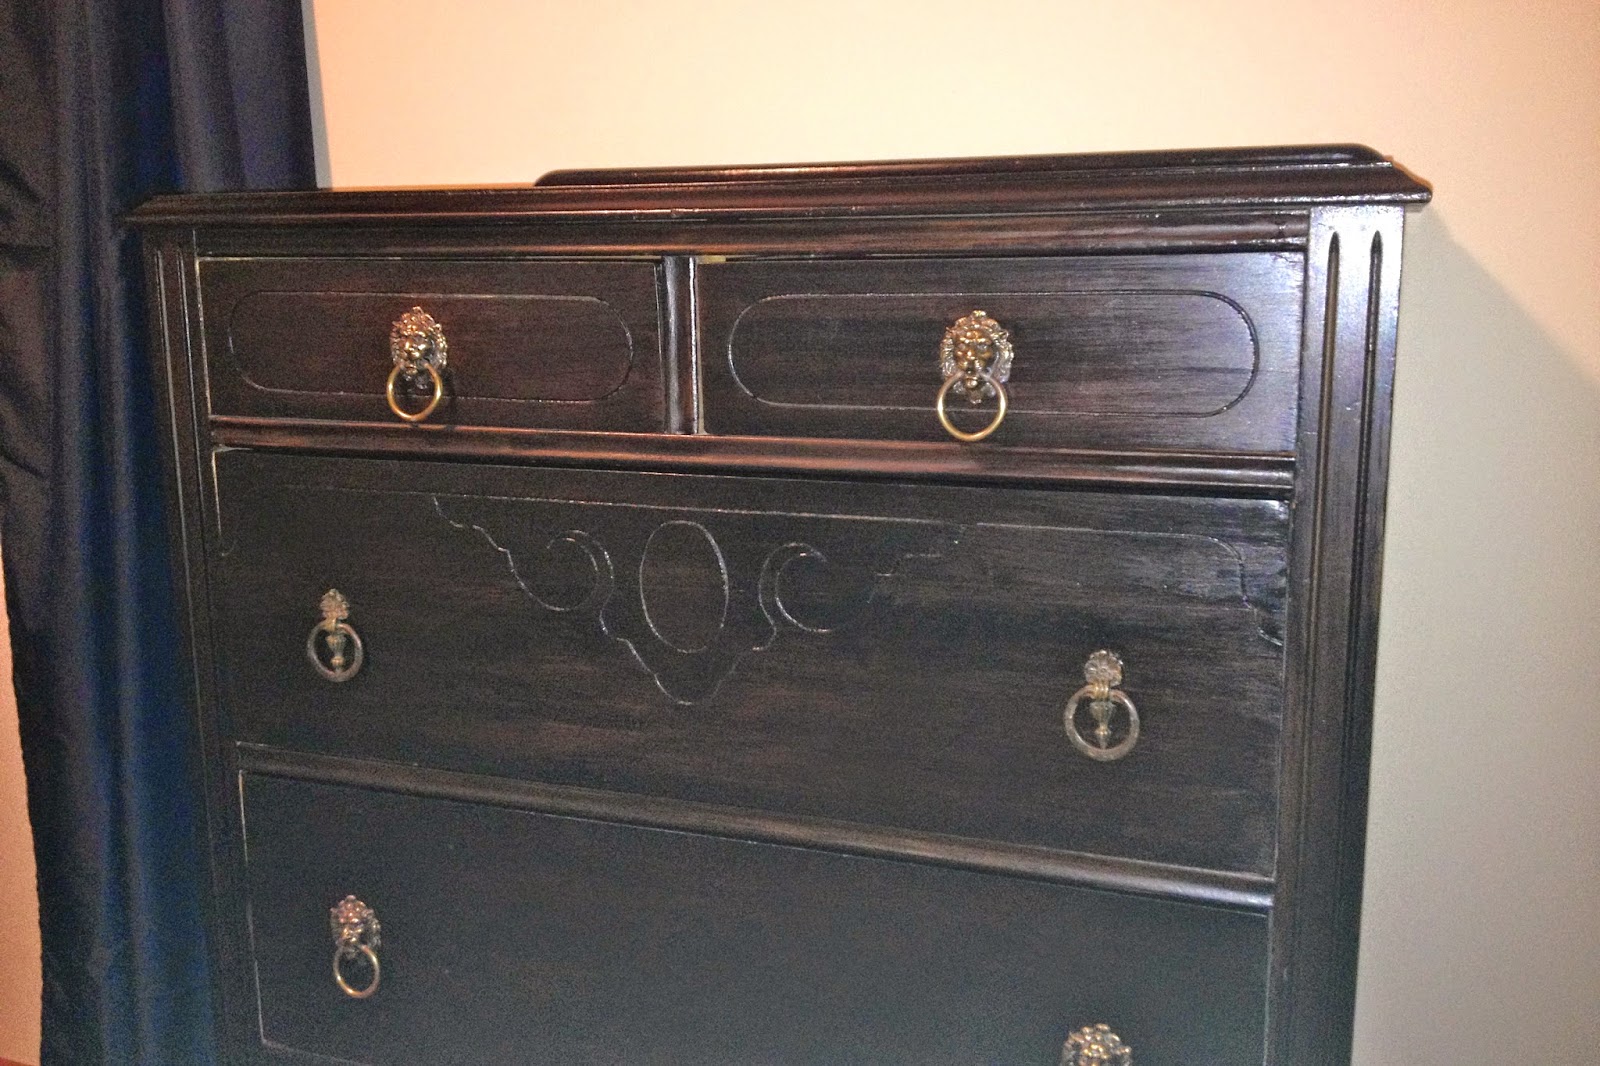
I applied one more coat and called it a day. I like that Polyshades allows the wood to show through unlike paint. It's a nice in between option. However, if this piece had really beautiful/obvious wood grain, I would have stripped it down and stained it the traditional way so that the wood grain would show more.
Here are the AFTER photos:


Have a great weekend!
No comments:
Post a Comment