I thought a long hall table might look nice... something I could set frames, candles, and plants on. I didn't want anything too wide since we need room to walk.
My father-in-law has a bunch of old barn wood and my husband and him were able to build what I wanted. The great thing about DIY is you can make it to fit your space. I wanted it to be four feet long and no wider than ten inches.
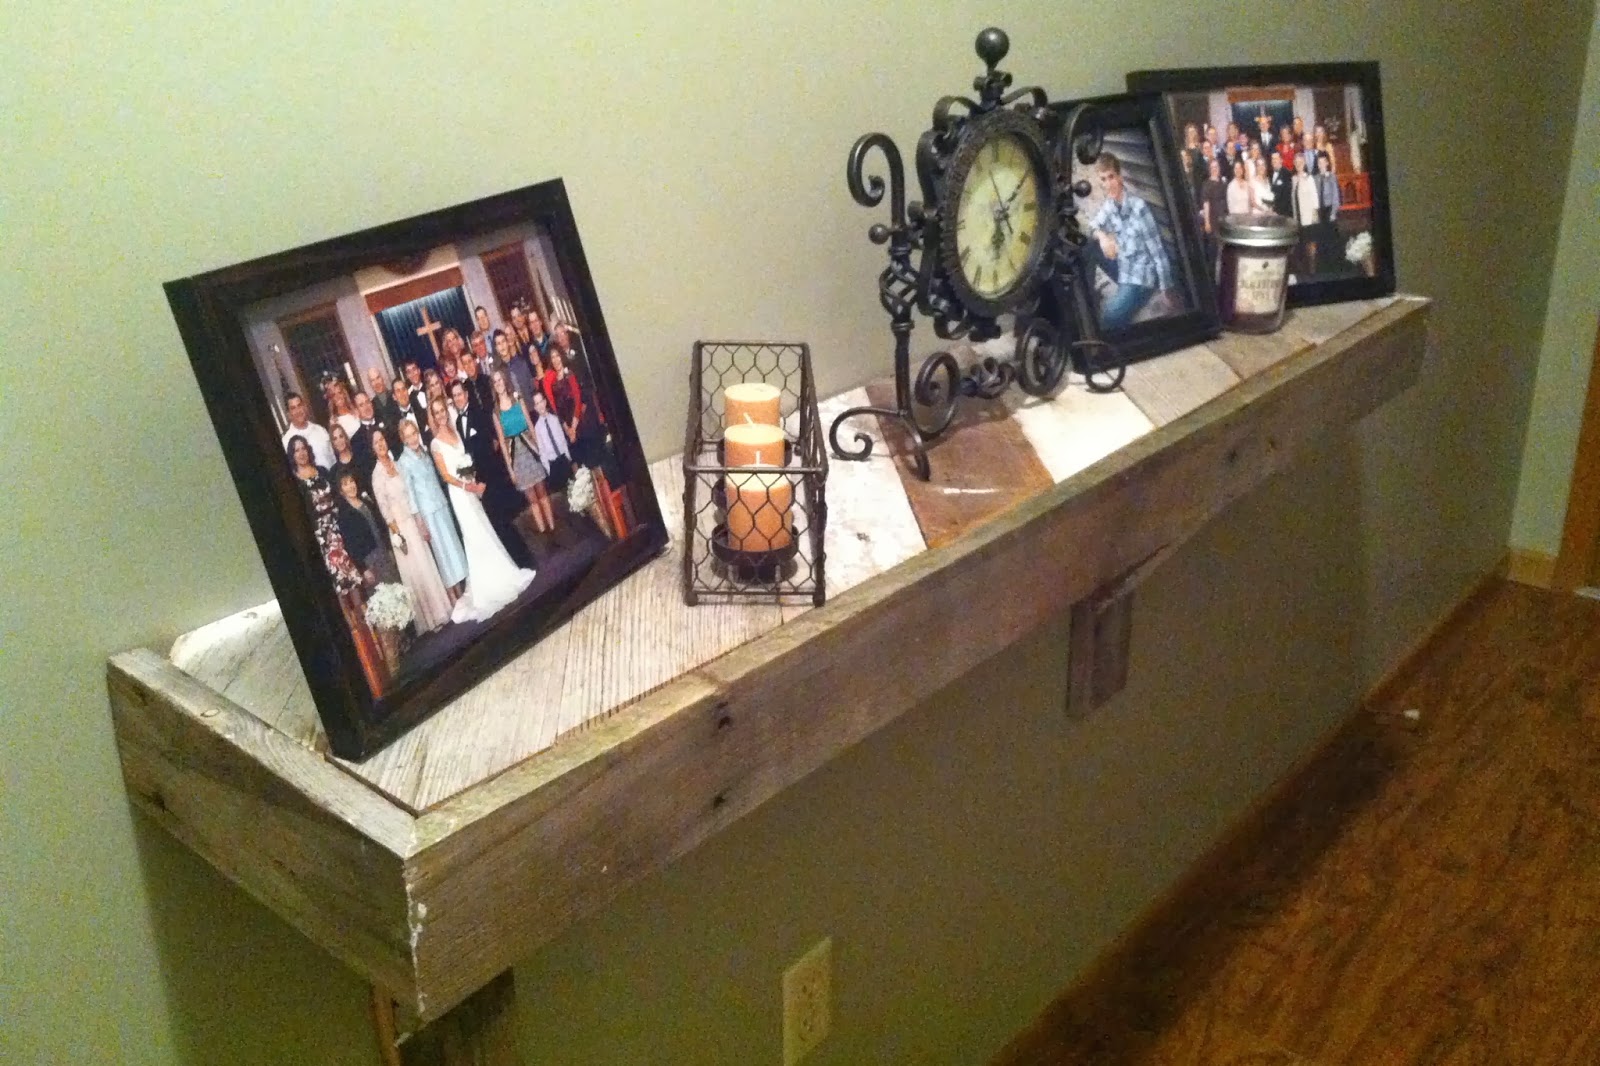
Here is how it turned out:

Obviously it isn't a table. We decided a shelf would be best. My temperamental cat likes to knock things over. A long skinny table seemed risky!
Here is the write-up from my husband:
Unfortunately I didn’t take too many pictures of the build, but I’ll try to explain it the best that I can. Going off the dimensions that Jenna wanted my dad and I cut a piece of plywood to be the base of the shelf. Everything would come together on the plywood. The top planks, the side trim, and even the cleat that I built to mount it to the wall.
Here you can see the outer trim of the shelf going onto the base piece of plywood. We used small trim nails and predilled the holes so as not to split the wood that is over 110 years old.

After the trim pieces were put together it was time to cut the planks for the top of the shelf. Things go much quicker with a miter saw. Here’s my dad cutting a piece.

This was actually the quickest part of the project. Cutting them to length was pretty easy and all the pieces lined up pretty well on the back side of the shelf. You can see how it started in the picture below. We waited until all the top planks were cut before fastening them to the plywood base.

We attached the left corner piece first as that acted as our “archstone”. We fastened each plank with two to three trim nails depending on the size of the piece. You can see that here:

The trim nails blended in very well and I didn’t even bother sinking them in below the surface with a nail set.
Now I completely forgot to take pictures when building the brackets and I apologize for that, but they were a simple build that you could probably reverse engineer from looking at them.

If you have any questions please let me know. It may be hard to find barnwood if you don’t know many people that live in rural areas. If you’re interested in reclaimed projects like this please contact myself or Jenna and we can steer you in the right direction.
- Curtis
Okay, I'm back. What did you think of his recap? Here are a few more pics:
 | ||||

 |
| I got this clock from Goodwill for $4! |
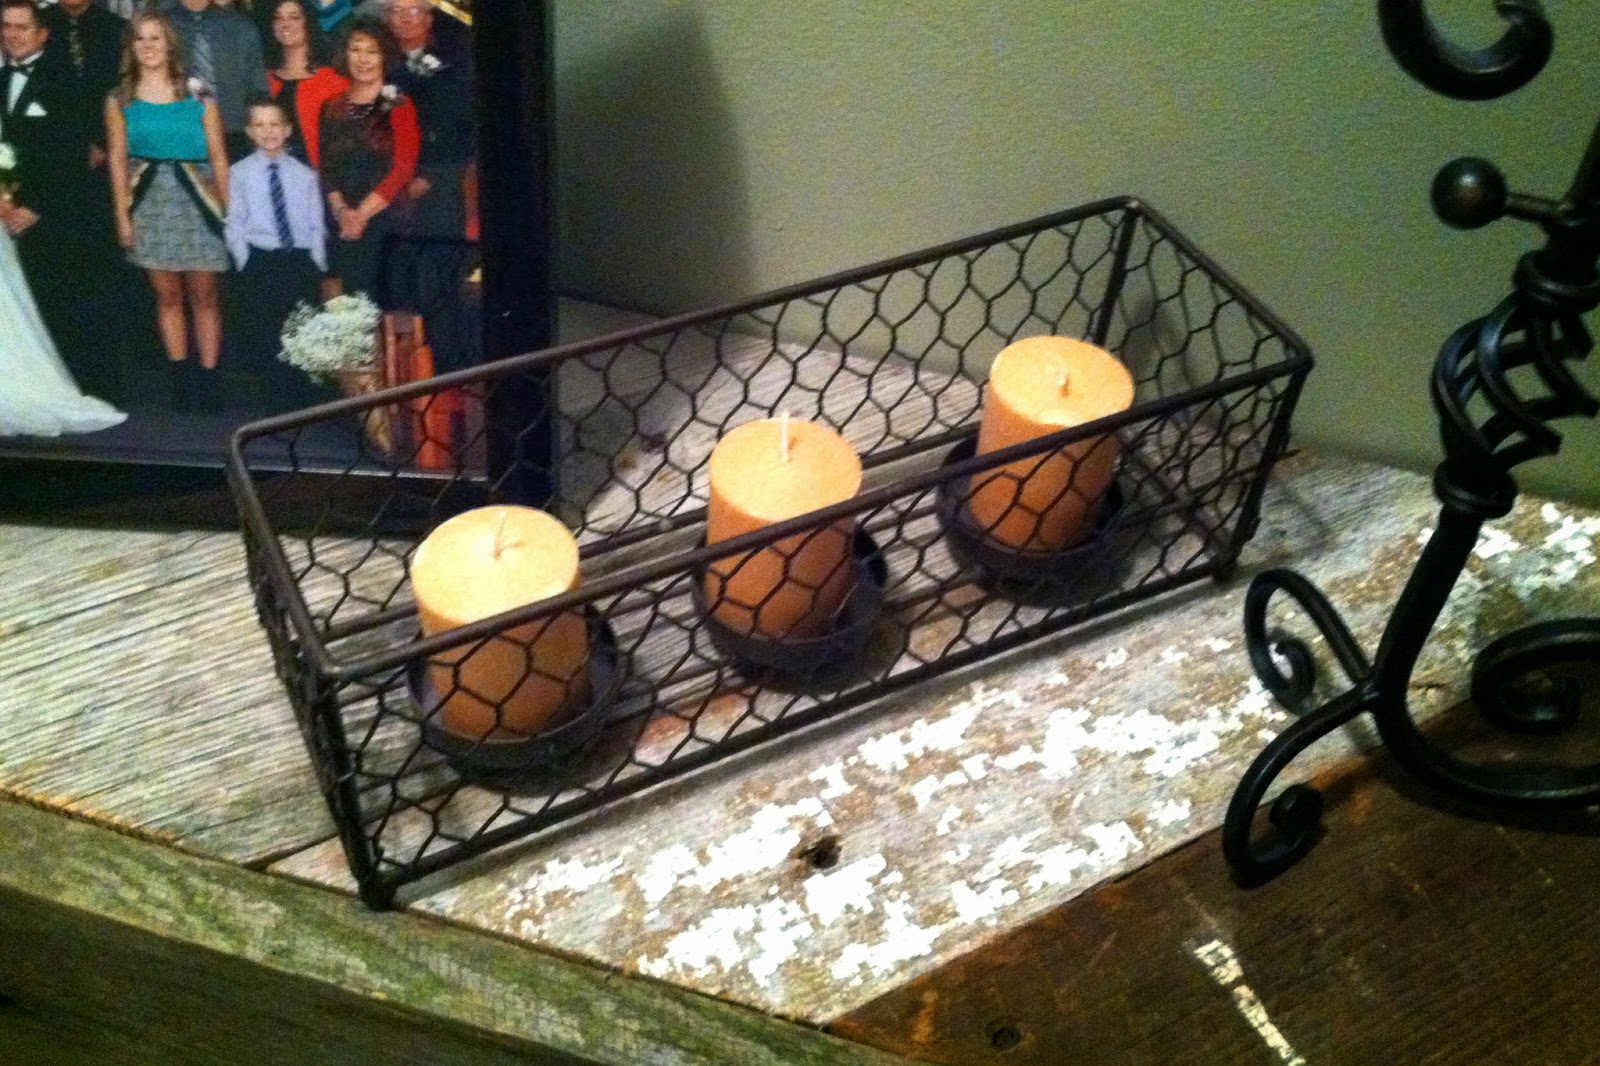 |
| This candle holder was free from Eco Store. Fuh-ree!! The candles were $.50 each from Walmart. Gah I hate Walmart, but I knew I could find them there for cheap. |

 |
| I can't decide what I want to put on there. I'm already swapping out frames. Which do you prefer? |
 | |
| This frame was plain white. I glazed it to match the distressed theme. How handsome is my little brother Joel? Aww...he's going to kill me for putting him on here. |
This isn't the only time some awesome guys in my life have built me a shelf. My dad and Joel built the below shelf a few years ago for the kitchen of my first home. It's in my living room now. You can barely see it with all the greenery and stockings, but they did a great job.

Shelves are the perfect place to display decorations and fill up a boring wall!
Very nice. This turned out really lovely.... and I liked the photo of Joel too. :)
ReplyDelete