Yesterday, I posted about using Rust-Oleum Stone Effects spray paint on countertops. I didn't love how it turned out, but I didn't hate it. I could have lived with it. After I completed that project, I started using the tub and tile refinishing kit on the sink and tile surrounding the countertop.
The sink was really scratched up. I cleaned and cleaned it, but the actual finish was scratched so the only way to fix that was to repaint the sink or tear it out and put in a new one.


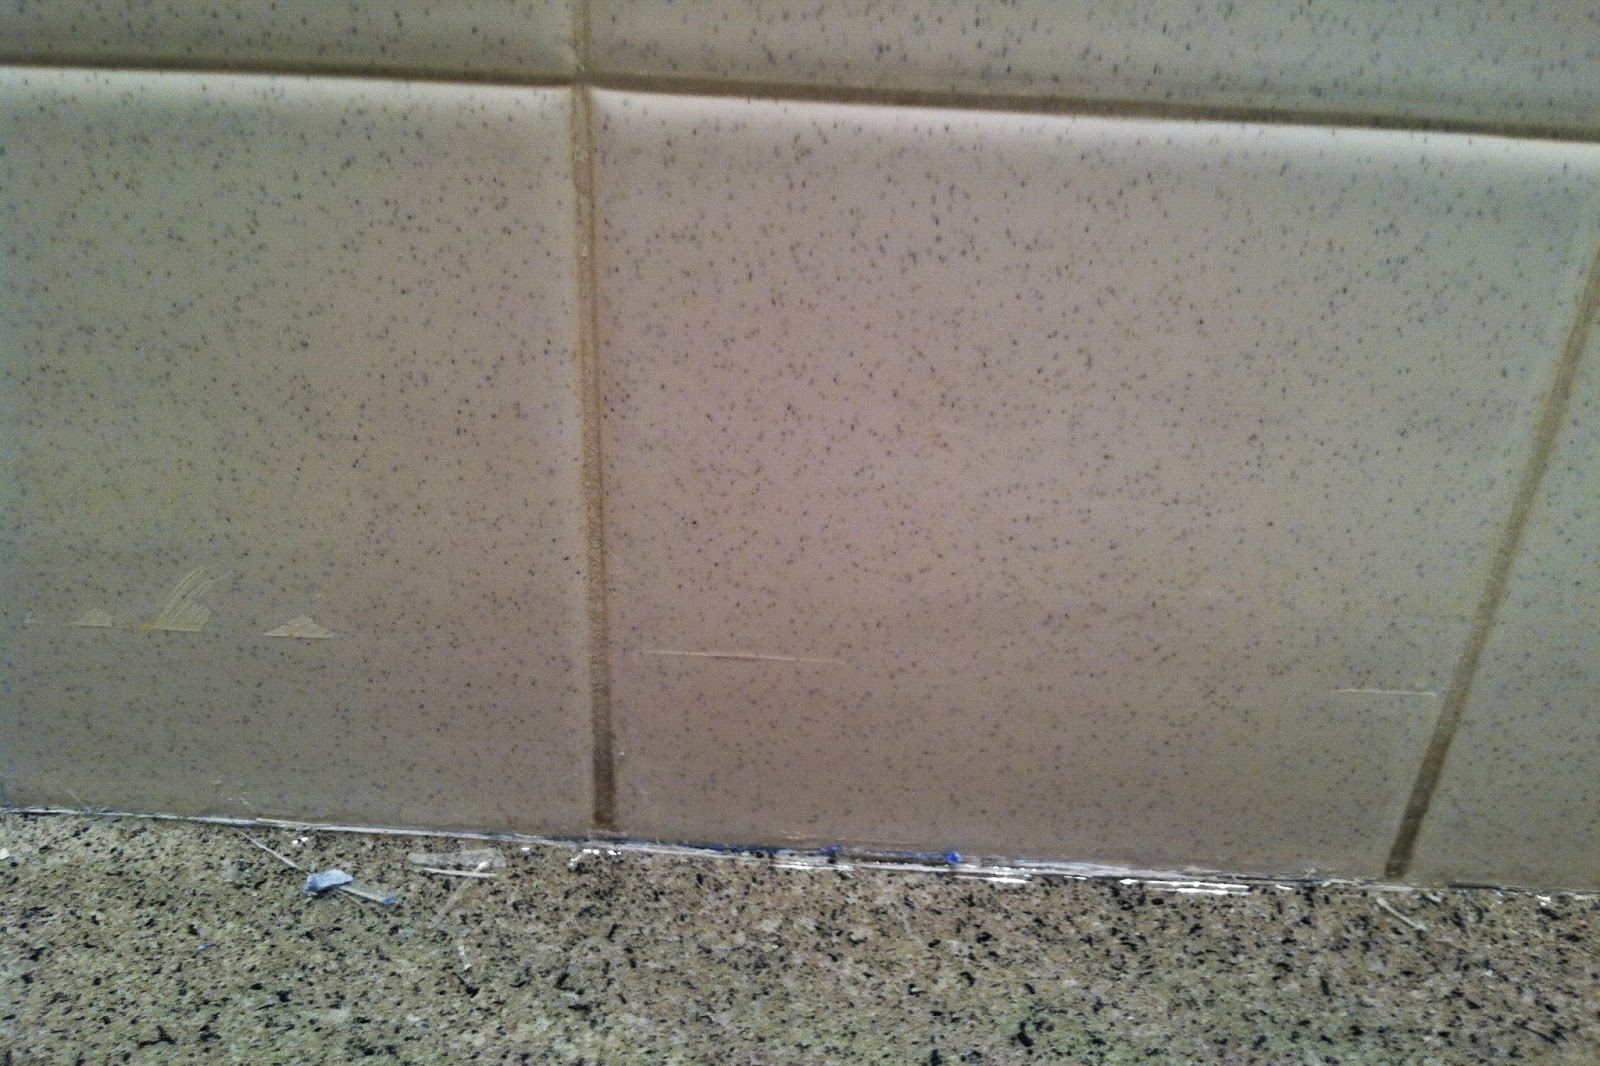
The tile surrounding the countertop was also gross. I scrubbed it like crazy and I just couldn't get it clean. Plus, the pattern was outdated.
 |
| Ick ick ick! |
I thought using the refinishing kit would be a great way to brighten both the sink and tile up and make everything look new and clean. I found some positive reviews of it online. I was so wrong!
The Rust-Oleum Tub & Tile Refinishing Kit was $25.97 from Menards. There are two cans in the kit that have to be mixed together. You'll need painters tape, a high quality two inch paint brush, and a mask.
This stuff smells absolutely awful! I recommend waiting until it's warmer out and opening up all the windows in your home to air it out. You may want to invest in a respirator mask. I probably should have.
You'll need to clean and sand the surfaces that you're painting really well. They recommend you repeat the cleaning process three times. Phew! That's a ton of prep work. After you're done cleaning, tape everything off.


Mix the two cans together and start painting. The first coat was very thin. In fact, it looked like I hadn't even painted it.
The second coat was the perfect consistency. It had thickened up a bit and was going on really well.


I needed to do a third coat because it was still very streaky. If you do a third coat, you have to wait overnight before applying it. So the next morning I got ready to paint again. Right away I could tell the paint was thicker. Too thick. I sealed the can up well the night before. I don't know what happened. I applied the paint and it was a thick goopy mess. It was impossible to spread evenly. Plus, I could only do a couple passes on the paint before it would start to ball up. It was an absolute mess. There was no getting it smooth.

Look at the runs in this sink! I tried to go back and fix them, but it was a lost cause.


What a mess! We pretty much had no choice, but to rip it all out and start over. What a waste of time! And money! At least I didn't spend too much on it, but still. Have any of you tried this product? I'm trying to figure out where I went wrong.

And look how it seeped through under the blue tape. So much for my clean lines! I was going to redo the laundry room sink and shower with this and I'm so thankful I didn't. We would have had to rip those out too!
This was the turning point for me when I decided no amount of diy could fix this so I bought I quartz countertop. See how I saved money on it.
The reason this happened is because you have to use the mixed paint within 6 hours of mixing it. In order to do a 3rd coat the next day, you would have needed to mix the paint in separate batches - sorry this happened to you :(
ReplyDeleteThanks, I appreciate the advice!
DeleteThanks for sharing. It is very nice information. My wash area also need glazing, specially bathtub glazing. I will try this. I also read some here Bath Glazing
ReplyDelete